These three Halloween crafts are cheap and simple to make. Younger children will need help with the cutting aspects of the crafts, it will be better to cut everything out for them before you begin.
All the crafts pictured were made by my eight year old daughter with a little help from me!
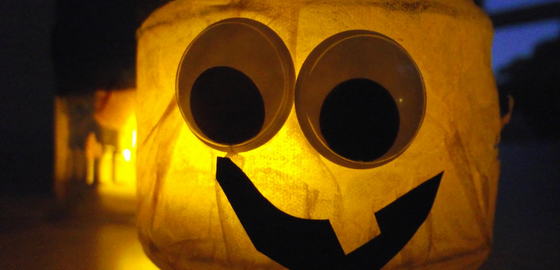
Halloween Lanterns
You will need:
A glass jar
Coloured tissue paper
Googly eyes
Black card
Watered down PVA glue
Electric tea light
To make a pumpkin, cut orange tissue paper into strips and glue it to the jar (ensuring that you cover all of the tissue paper in the watered down glue). Add some green tissue paper to the lid or around the top of the jar in the same way.
Cut out some eyes from black card (or use googly eyes) and do the same for a mouth. Stick them onto the jar.
Add an electric tea light (not a real candle) to the jar to make it glow.
You can make so many variations of this. Use white tissue paper to make a ghost or make a multi-coloured jar with a silhouette of a witch flying.
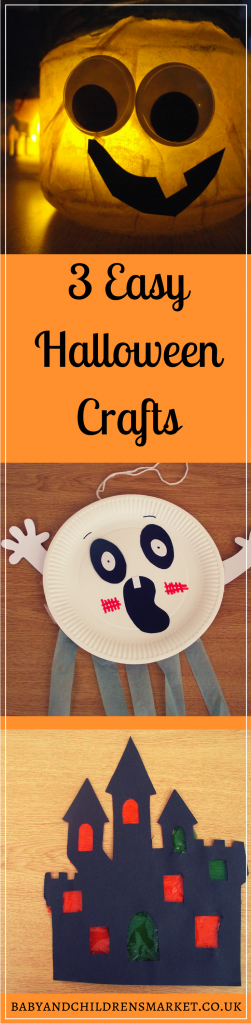
Paper Plate Ghosts
You will need:
A paper plate
Black and red marker pens
Tissue paper cut into long strips
Black and white card
Some string
Cut out a mouth and eye shapes from the black paper and stick them into place.
Cut out two arms with hands from the white paper and tape them to the back of the plate.
Cut out two circles from white paper and stick one into each eye, adding a black circle with the pen as pupils.
Use the red pen to draw on the cheeks.
Tape four or five strips of the tissue paper to the back of the plate (on the reverse side).
Cut some string and tape it to the top (reverse side) to make the hanging.
Window Hangings
You will need:
Black card
Orange and green cellophane wrap
Cut the black card into different shapes. You could make a castle (pictured) a pumpkin, a ghost or any other type of Halloween object.
Cut some holes in the card e.g. windows for the castle or eyes, nose and mouth for a pumpkin.
Cut the cellophane into small squares and stick it onto the back of the card, covering the holes.
Stick to a window for some spooky decorations
Aimee Foster is a mum, freelance writer and social media manager, bookworm and sea lover. Find more of her ramblings over on her blog, New Forest Mum.
